How Can We Help?
Event Planning To-do Tasks
Organize the various aspects of an event, and improve productivity by creating to-do checklists that enable you to prioritize and focus on the most important tasks.
To-do tasks can be assigned to colleagues who use our smartphone or web apps.
You can organize the to-do checklists into categories such as attendees, venues, promotion, agenda, etc.
You can also create to-do tasks when specific milestones are reached, for example, when the ticket sales, revenues earned, attendees checked in, etc, meet a defined threshold.
Creating and managing the to-do lists can be done from the web app, the smartphone app, or our browser extensions for Google Chrome and Microsoft Edge.
Web app to-do tasks
Setting up checklist tasks on the web app
From the navigation menu, go to the To-do Tasks option.
On the new page, click on the Add a New Task option under the Actions menu.

On the new page, fill out the form by giving it a task name, some description, category, due date & time, priority, and assign an owner to it. You can assign the task to yourself, or other web and smartphone app users. Alternatively, leaving the owner assignment field blank will make the task available to all users.
With the Attendees category, you can choose specific attendees to associate with the to-do list.
Viewing tasks on the web app
From the To-do Tasks page, use the filters at the top of the page to narrow down to specific tasks from specific events.

The table on the page will update to show the corresponding tasks based on the filters.
Under the Actions menu of a task, there are options to edit, view, delete, or mark the task as complete.

If an attendee category is used for the task, when viewing the task, you can view their profiles or allocate
Smartphone app to-do tasks
Setting up checklist tasks on the smartphone app
Once logged in to the smartphone app, choose an event.
Under the Tasks section, tap on the To-do Tasks menu.
On the new page, tap on the (+) button.
Fill out the form by giving it a task name, some description, category, due date & time, priority, and assign an owner to it. You can assign the task to yourself, or other web and smartphone app users. Alternatively, leaving the owner assignment field blank will make the task available to all users.
If an attendee category is selected, you can search for the attendee and select them under the Attendee dropdown field.
Viewing tasks on the smartphone app
On the Event’s Validation Options page, tap on the To-do Tasks menu.
If new tasks are available, they will be displayed under the Pending tab. Completed tasks are displayed under the Completed tab. To refresh the lists, tap and drag the top of the page.
Refreshing the Validation Options page will notify you of the available pending tasks.
To mark the tasks as complete, you can expand the lists, choose the relevant option, or tap and hold the list then accept the prompts shown.
Browser Extensions to-do tasks
With our Google Chrome or Microsoft Edge extension, you can use the context of a web page that you are viewing to create to-do checklists.


Setting up tasks on browser extensions
You can set up tasks by right-clicking on a web page and then choosing the Ticketing.events Side Panel extension.
If you previously selected some text, before right-clicking on a web page, the selection can be used to compose the task.


Microsoft Edge Context Menu Example
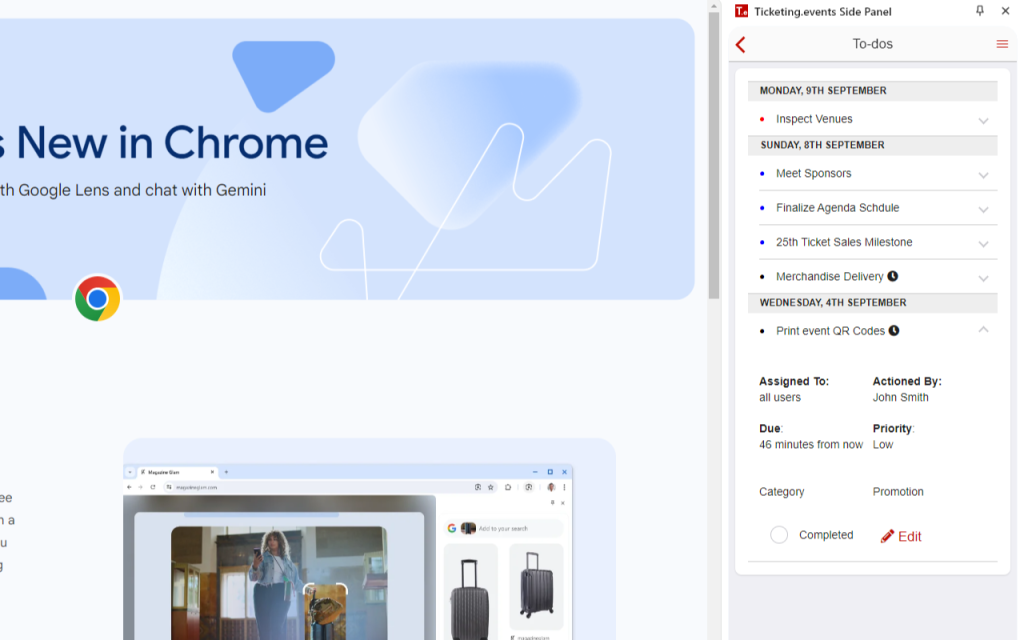
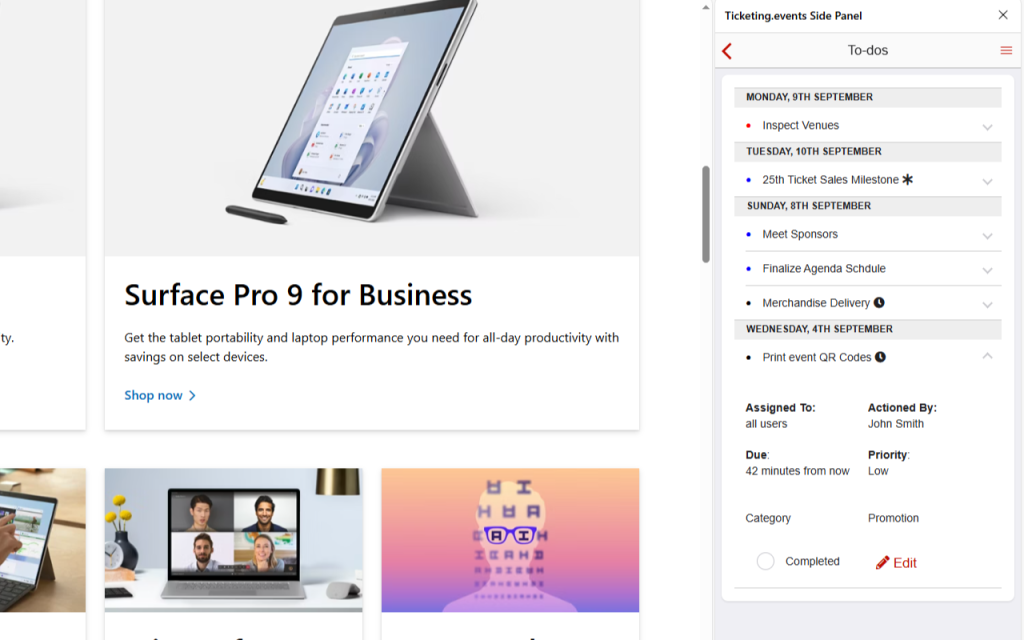
With the opened side panel or sidebar, regardless of how it was opened, you will be presented with an option to view the to-do checklists.
To create a new task, from an already opened side panel or sidebar, under the Pending tab, tap on the floating (+) button.
On the New Tasks form, fill out the form by giving it a task name, category, some description, due date & time, priority, and assign an owner to it. You can assign the task to yourself, or other web and smartphone app users. Alternatively, leaving the owner assignment field blank will make the task available to all users.
If an attendee category is selected, you can search for the attendee and select them under the Attendee dropdown field.
Viewing tasks on the browser extensions
Open the side panel or sidebar by right-clicking and choosing our extension or from your pinned extensions bar.
Once opened, go to the To-do Tasks menu.
Click on the dropdown icon to expand a list’s contents.
To refresh the to-do lists, pull and drag the page down using your mouse.
Notifications are available with our browser extensions and are triggered whenever new tasks are added or existing ones are due. These notifications are issued whether the side panel or sidebar is opened or closed.
Milestone tasks
With milestone tasks, to-do lists can automatically be created whenever a specific threshold related to the milestone is met.
Milestones can be created for:
- ticket sales, e.g for every 10th sale
- ticket revenues, e.g for every $500 earned
- check-ins, e.g for every 100th attendee
- fundraising, e.g for every $1000 donated
- venue presence, e.g for every venue entrance or exit
To set the Milestone tasks up, from the To-do Tasks table, go to Options > Milestone To-dos.

On the new page, choose an event, then choose the Milestone Type.
After that, for each of the tickets you are interested in, check the Enable Milestone checkbox, then type and enter a custom threshold value or choose one from the available options.
After that, assign the milestone to your users.
Depending on the type of milestone created, the automatically created to-do task list will include the threshold conditions that triggered it, and relevant details such as the ticket name, event, and attendee’s name, etc.
Calendar To-do Tasks
You can import your to-dos to a calendar application such as Google Calendar or Outlook.
From the To-do Tasks table, go to Options > Calendar Integration.

Copy the generated link and use it to import the tasks to the calendar application.
The calendar application continuously checks for new updates. You can also set it to notify you when changes occur.
Custom To-do Statuses
You can add custom statuses then use them to filter tasks.
From the To-do Tasks table, go to Options > Settings.

On the Settings page, enter comma-separated values for the statuses.
