Knowledge Base
Integrating With Zapier
Overview
A Zap is an automated workflow that connects your apps and services together. Every Zap consists of a trigger step (“when this happens…”) and one or more action steps (“then do this…”). When you turn your Zap on, Zapier will run the action steps every time the trigger event occurs. Learn more about them here.
Zapier Triggers
Ticketing.events offers these triggers below that can be used to automate tasks. For example, new attendee data received can be added automatically to MailChimp, or a Google Sheet.
- New Attendee – this will be triggered whenever a person reserves a ticket. Data in the trigger includes the person’s name, email address, and any custom fields data filled out on the reservation form.
- New Ticket – this will be triggered whenever a sale has been made. Data in the trigger includes the ticket name, quantity, amount paid, cart data, and the attendee’s details.
- New Check-in – this will be triggered whenever a ticket has been scanned. Data in the trigger includes the attendee and ticket details.
Zapier Actions
Zapier Action steps can find and/or create items in apps integrated with Zapier.
Ticketing.events supports two actions. One can be used to create an attendee, whilst the other one can be used to allocate tickets.
With Zapier Actions, for example, you could easily fill out a Google Sheet with attendee details, and automatically have those attendee details used to create an attendee on Ticketing.events.
Connecting to Zapier
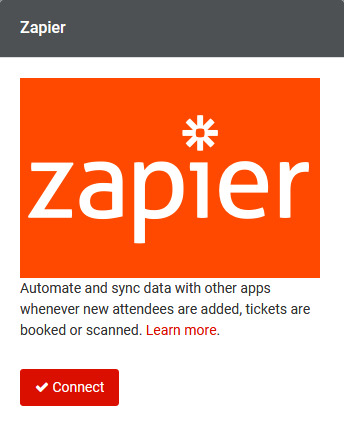
To get started with Zapier, from the Integrations page, go to Zapier then click on the Connect button.
When prompted to authenticate your account with ticketing.events, go to your Profile page > API tab.
Click on the Get API key then copy it and enter it in your Zapier account.