Knowledge Base
Adding Tickets
Tickets can manually be added to new or existing attendees.
Note – if you prefer to have the attendees obtain tickets themselves, share your event’s published URL.
Adding tickets to a single attendee
To add tickets to existing attendees, go to the Attendees page, choose the event, find the attendee on the table, then go to Actions > Add Tickets.

On the Add Tickets page, choose the tickets to add.
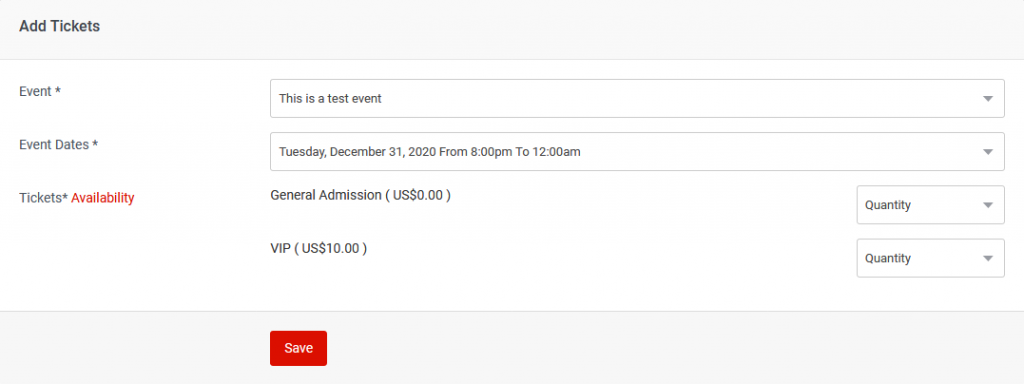
To add tickets to new attendees, when filling out the form, check the Add Tickets checkbox, then proceed to choose the tickets.

Adding tickets to many attendees at once
Tickets can be allocated to many attendees at once using a CSV file.
This option allows you to have the platform either email the e-tickets automatically, generate links to the e-tickets that you can email using a different platform, or enable you to print the e-tickets.
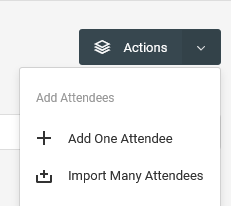
From the Attendees page, go to Actions >Import Many Attendees.
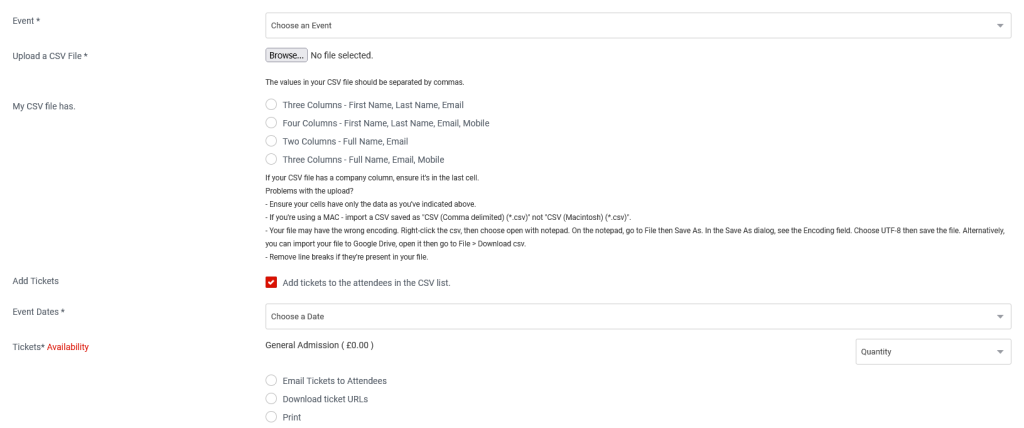
On the new page, upload a CSV file with the attendee details. At a minimum, you need their first and last names and their email addresses.
Click on the Add Tickets to Attendees checkbox, then choose the relevant ticket options.
Adding tickets to a couple of selected attendees
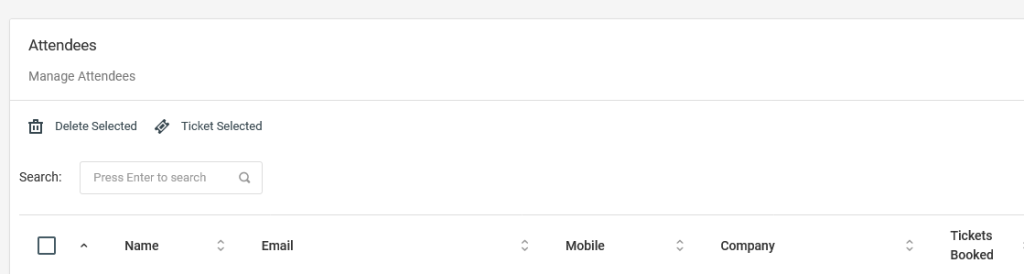
Another way to add tickets to multiple attendees is by selecting them from the table using the checkbox, then clicking on the Ticket Selected button.
Adding tickets via automated workflows
Using Zapier
Using Zapier, you can automate how attendees get tickets allocated to their profile.
This can be done, for example, when editing a Google Sheet, MailChimp list, etc, attendee details can automatically be retrieved from it and used on Ticketing.events to issue tickets.
You first need to set up a Zap trigger.
After that, choose the app Ticketing.events, and the action Create Attendee With Tickets.
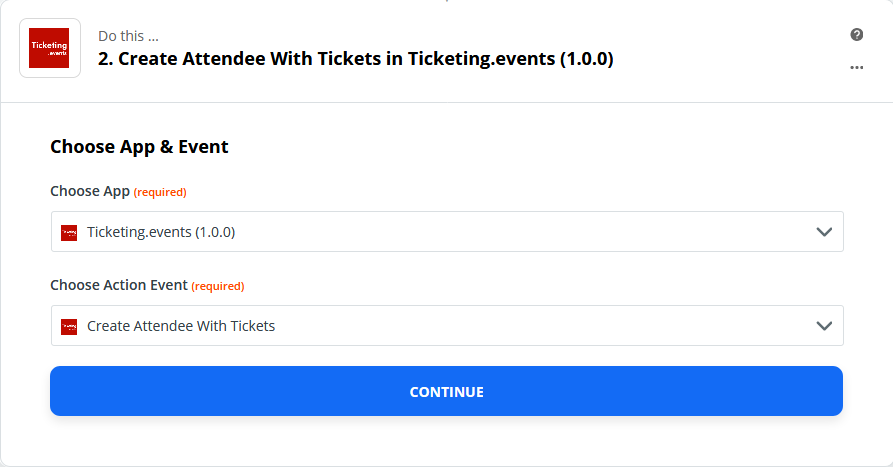
Click on Continue, then authenticate your account.
In the step that follows, map data from your Zap trigger on to the fields that you want to populate automatically.
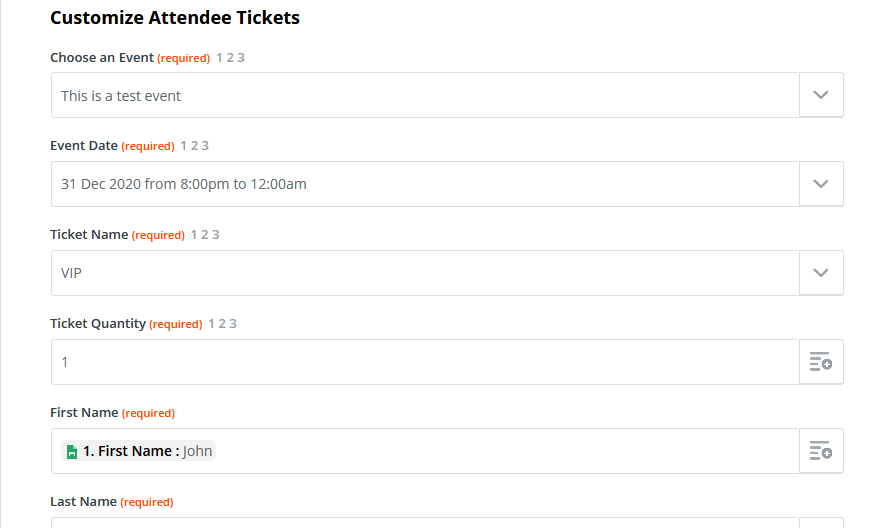
Proceed to then test the integration, and turn the Zap on.
Using Microsoft Power Automate
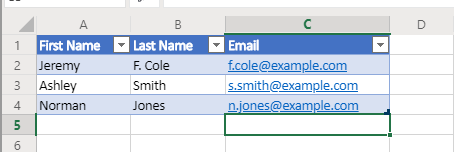
Given an Excel Online spreadsheet with attendee details such as names and email addresses, first, convert the spreadsheet to a table.
Note – if using another spreadsheet such as a Google Sheets one, these table steps are not necessary. Your spreadsheet, however, will need to have row headers/titles.
To create a table on Excel Online, go to Insert > Table.
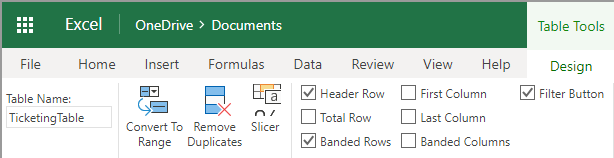
When prompted to confirm if the table has headers, ensure the checkbox is checked.

Rename the table by going to Table Tools > Design > Table Name. Make a note of the new name as it will be used later during the flow setup.
In your Power Automate account, go to My Flows.
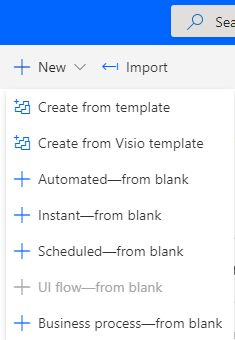
On the new page, click on New, then choose Scheduled – from blank.
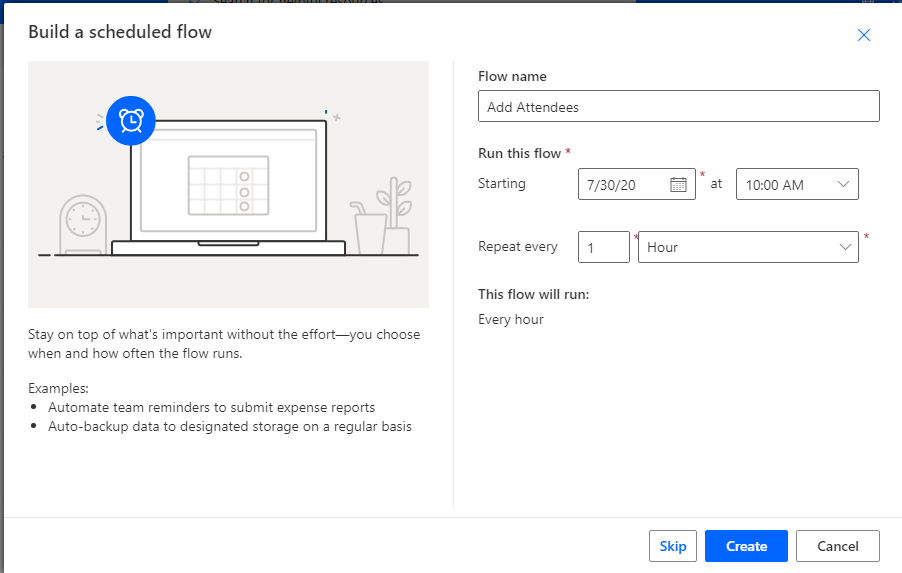
In the prompt that appears, enter a name for the flow, then choose a schedule e.g every hour.
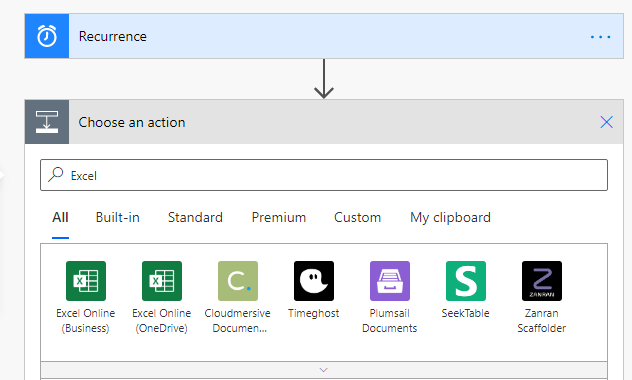
On the new page, click on the New Step button, then depending on your choice, search, and select Excel or Google Sheets connector.
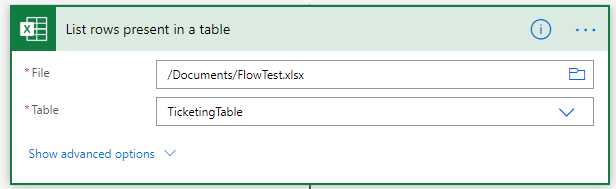
Under Excel Actions, choose “List rows present in a table”.
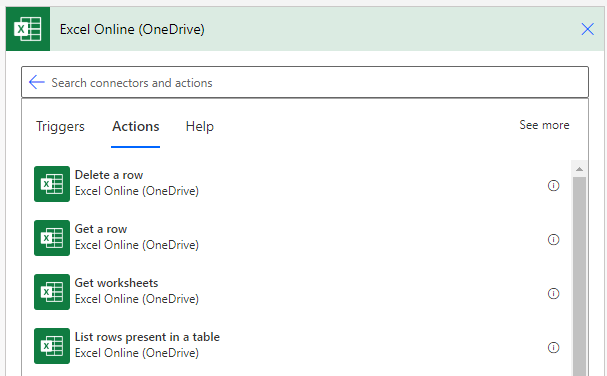
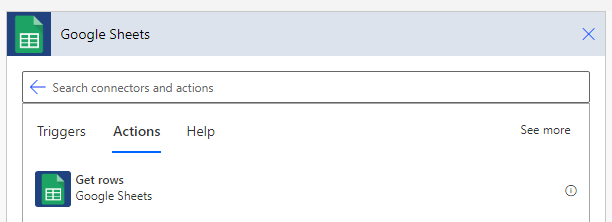
If using Google Sheets, you would choose “Get rows”, then follow the prompts to choose the location of the file, and sheet.
With Excel, you would then be presented with a prompt to choose the location of the file, and the name of the table.
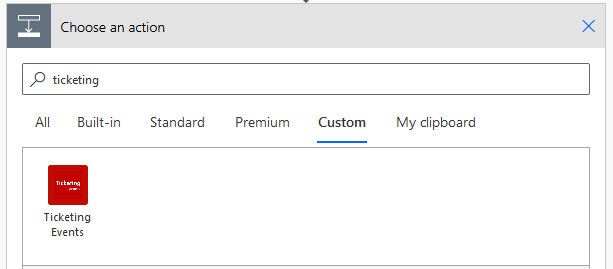
Once that is done, click on the New Step button, then search for “Ticketing.events” connector.
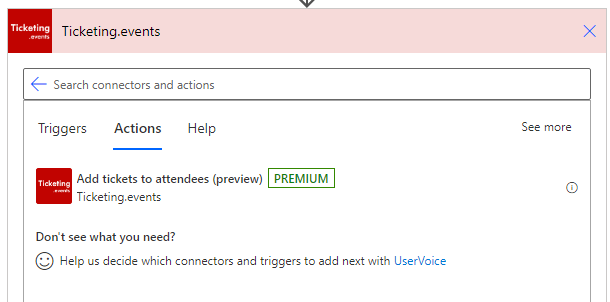
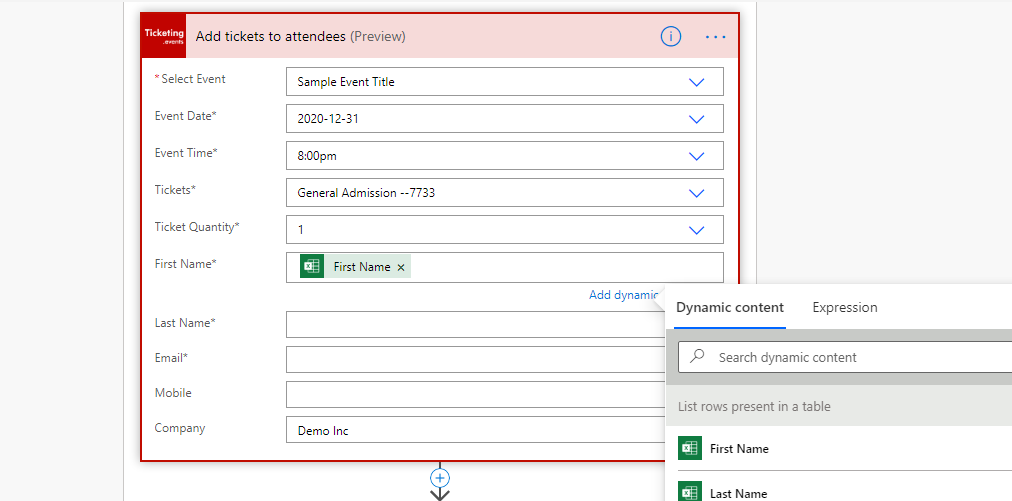
Under its Actions option, choose “Add tickets to attendees”.
On the prompt that then appears, populate the form with your event details.
When it comes to the attendee details section, use dynamic content from the Excel rows.
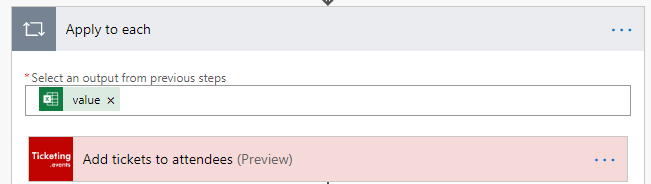
If presented with an “Appy to each” prompt, click on the “Add tickets to attendees” title to expand the content of the connector.
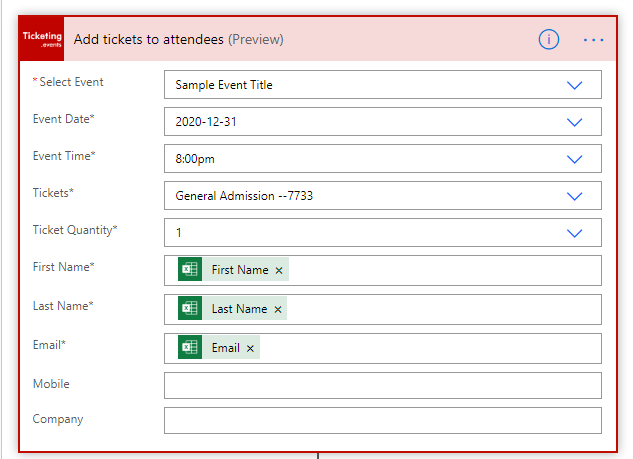
After that, proceed with adding more dynamic content for the remaining fields.
Once that’s done, save the flow set up, ensure there are no warnings under the flow checker, then test.

After a successful test, attendees will receive emails with their e-tickets.