Knowledge Base
Event Tickets Validation
Overview
When tickets are booked on Ticketing.events, an email with a QR code is sent to the recipient’s email address.
This QR code contains unique data that can be validated, only once, on the platform. Subsequent validation of the same QR code will fail.
Ticketing.events offers a variety of ways to validate tickets.
Validation via smartphone apps
Our Android or iOS apps can be used to validate QR code tickets online or offline.
To do so, log in using your account’s email address and password.
If you have a team, create Smartphone App user accounts for them to log in with.
Once logged in, choose the event.
On the subsequent screen, choose the event’s date, then how to validate the tickets.
After choosing the validation method, proceed to scan the QR codes.
The results of the scan will be displayed thereafter. If the ticket is valid, the outcome will show relevant attendee details such as their name, ticket type, ticket name, notes, and any other custom data that was captured when the tickets were booked.
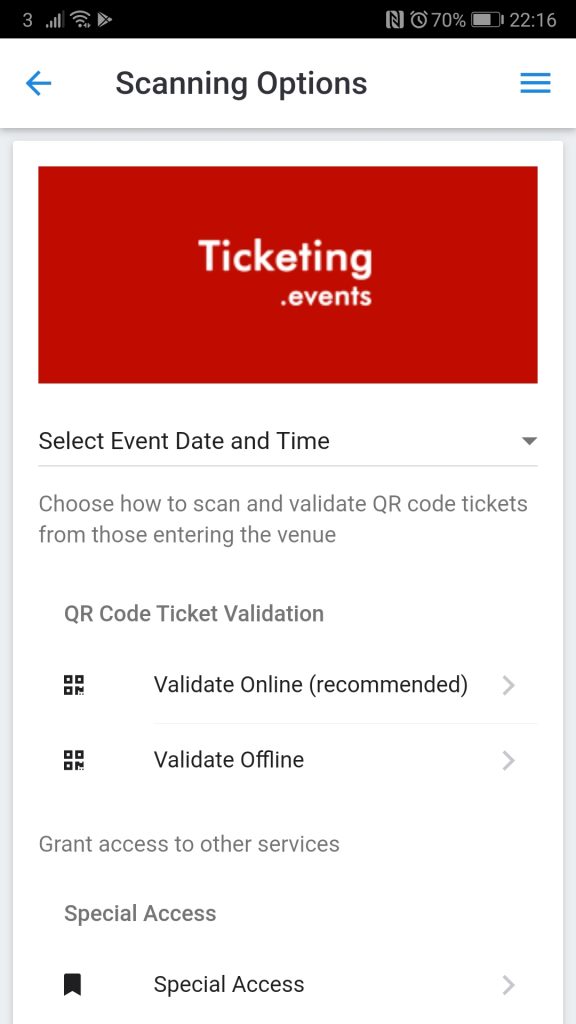
Online QR Code validation
To validate tickets online, choose the Validate Online option.
With this option, validated tickets will immediately be viewable in your web account, and also on other smartphone devices.
Offline QR code validation
To validate tickets offline, choose the Validate Offline option.
Before setting it up, you will initially need an Internet connection to download the entire ticket data required for validation. This should be done when there are no more tickets being sold so that the app can have everyone’s data.
Each smartphone app used for offline validation should have its own copy of the ticket data. Thus, the step above should be repeated on each device.
When validating tickets offline:
- Offline scanned data can be synced back to the web app when an Internet connection is present.
- Offline devices do not share information among themselves so a ticket validated on one device will still be valid on another offline device.
Searching for an attendee
If a QR code is not available for scanning, the attendee’s details can be retrieved by an email address search.
Using redemption codes
Another way to validate tickets is by using their redemption codes.
On the Validation Options screen, scroll to Redemption Codes > Ticket Validation.
On the screen that follows that, enter the code an attendee would tell you. Attendees need to click Redemption Codes links in their accounts or tickets for the platform to generate random codes.
These codes are temporary. An Internet connection is required to generate and validate them.
Validation via the web app
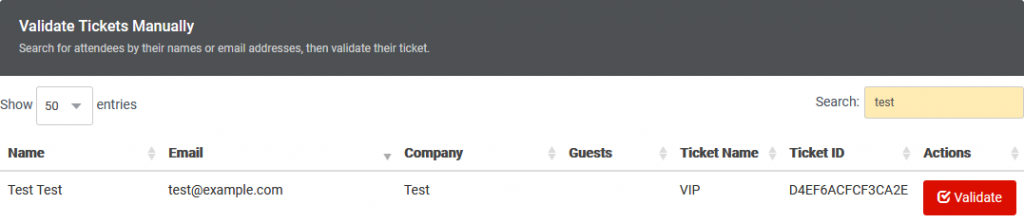
To validate tickets from a browser, go to Ticket Validation > Browser-based.
On the new page, select the event, then use the search functionality on the table to search for the attendee.
Click on the Validate button to validate the ticket from the corresponding attendee.
Using redemption codes
You can also validate redemption codes from attendees. Redemption codes are random numbers the platform generates when attendees request it from their accounts or tickets.
To use a redemption code, click on the Redemption Code button, then enter the code from the attendee.
Once submitted, the table will be filtered to show who the code belongs to. After that, click on the Validate button.
Using webcams
QR codes on the tickets can be scanned using webcams.
To scan the QR code using a webcam, click on the Webcam Scanning button.
On the prompt that gets displayed, choose the webcam under Video Source, then click on the Start Scanning button.
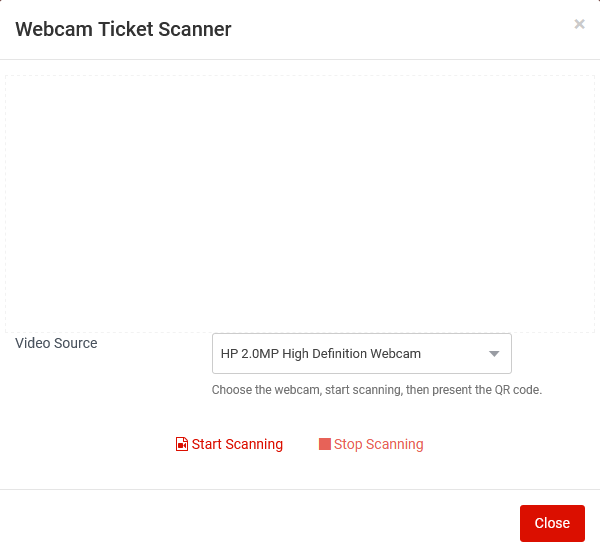
After that, accept the browser’s permission, then present an attendee’s QR code once the video can be seen.
When a QR code has been detected, the table will be filtered to show who the ticket belongs to. If a result is then found, click on the Validate button to validate the ticket.
Using Bluetooth, Wireless or USB Scanners
If you have a Bluetooth/Wireless or USB QR Code keyboard wedge scanner, scanning the QR code tickets will automatically trigger a search for the ticket ID on that table.
If a result is found, click on the Validate button to validate the ticket.
Validation via browser extensions
You can install our Google Chrome extension or Microsoft Edge add-on then use a webcam to scan QR code tickets.
Once you have installed the extension/add-on, go to the Scan QR Code Tickets option then choose an event and its date.
You will need to grant permission for the extension/add-on to use your webcam.
When you then scan a valid ticket, the scan results will show the attendee’s name, company, ticket type, ticket name, and validation notes.
Triggering Notifications
Upon validation of the ticket, automated notifications can be triggered. They include push notifications, webhooks, Google Spaces and Microsoft Teams chat notifications, Zapier or Microsoft Power Automate workflows, and to-do tasks.
You can set the notification to be triggered for each check-in or threshold intervals, e.g. every 20th check-in, etc.