Knowledge Base
Selling Tickets At The Door
In-Person Ticket Sales
You can accept card and cash payments at the door if you set up your payment settings using Stripe or Square.
With card payments, you can use a supported Point-of-Sale (POS) terminal reader to capture the payment. These include contactless, chip & pin, and swiped cards.
Setting Up POS Transactions
Ticket Sales Transactions
The process of setting up tickets for POS transactions is the same as that for online transactions.
Both POS and online tickets can be run at the same time.
With POS tickets, you may want to make use of the Private Ticket field so that these tickets have custom pricing that is not available publicly with the online option.

The POS tickets will be served from a different page, from which your team members, who are logged in to their ticketing.events account can use.
To get the link to the POS tickets, from the Events page, find the desired event, then go to its Actions menu.
Under this menu, go to the Ticket Links option.

Donation Transactions
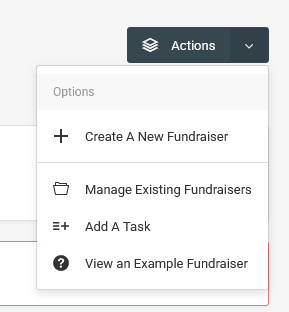
For donations, from the Fundraise page, go to Actions > Manage Existing Fundraisers.
On the subsequent page, under the Actions menu on the table, go to Donation Page Links.
Use the In-person Donations URL to execute transactions.
Membership Subscription Transactions
From the Membership Passes page, under the table, go to Actions > Subscription Links.

Use the In-person Membership URL to execute transactions.
Using Stripe For In-person Payments
First, check if Stripe supports in-person payments in your location.
Secondly, acquire their Smart Readers, and ensure that they support JavaScript integration, e.g Stripe Reader S700 and BBPOS WisePOS E types.

Consult Stripe’s documentation for the latest smart reader support updates.
Once you have acquired the smart reader, you will need to register it. This can be done directly from Stripe’s dashboard.
Alternatively, you can also register the smart reader when using our POS ticket sales link.
In your ticketing.events account, set up Stripe as the payment processor, and make it the default for processing transactions.
Processing Stripe Transactions
From the in-person URLs, follow the wizard steps until you are prompted to choose a smart reader that you have already registered.

If none has been registered, or wish to add a new one, click on the Register Readers button.

Whenever you want to refresh the list of available smart readers, click on the Reload Readers button.

Once you have selected a reader, under the Available Smart Readers dropdown, ensure that it’s available and a connection has been made.
Click on the Complete button then present the smart reader to the customer for it to capture the payment.
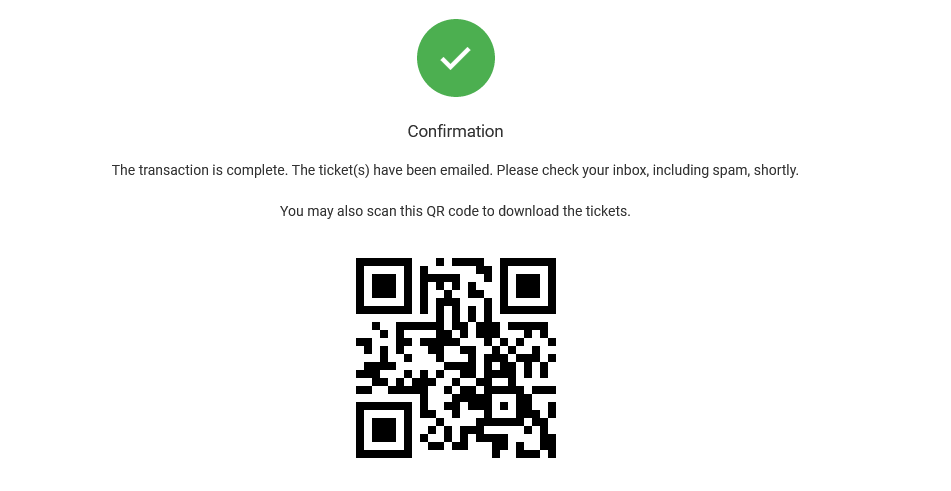
If the transaction is successful, the page will redirect to a confirmation page.
For example, for a ticket sale, the customer can then check their inbox and spam folder for the e-tickets. Alternatively, they can scan the QR code shown on the confirmation page to download their tickets.
Using Square For In-person Payments
Install the latest version of the Square Point of Sale application from the Google Play Store or the Apple App Store.
Set up the Square POS as required.
In your ticketing.events account, set up Square as the default payment processor.
Processing Square Transactions
On the same device with the Square POS app, open the in-person POS URL from a browser.
Follow the wizard steps.
The Square POS app will then open and prompt you to capture the payment from the customer.
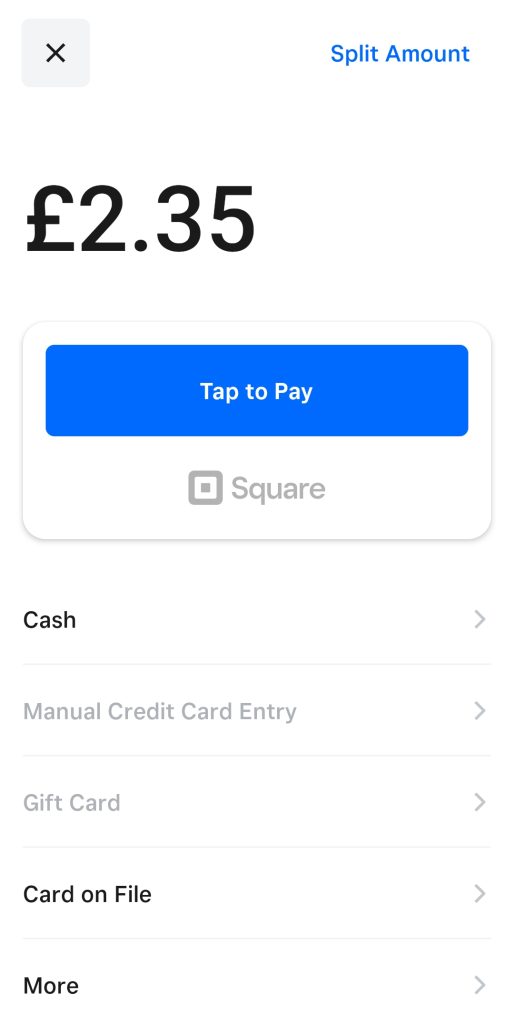
Once that’s complete, you will be redirected to a confirmation page.
For example, for a ticket sale, if the transaction is successful, the customer can then check their inbox and spam folder for the e-tickets. Alternatively, they can scan the QR code shown on the confirmation page to download their tickets or manage them.
